

 The BloodHound product family are API-first products, meaning everything functions on the underlying API layer. All data displayed in the portal, all commands given to SharpHound or AzureHound Enterprise collectors, and all data uploaded pass through the BloodHound APIs. Customers may utilize these APIs to extend the use of the BloodHound product to function with other tools in their environment. This article will show how to access the API and include some example use cases.
API Documentation
Our API reference is available here. Additionally, API documentation is hosted utilizing Swagger behind authentication within your tenant environment. After logging in, you may access it by clicking the cog in the top right corner of your tenant and clicking API Explorer.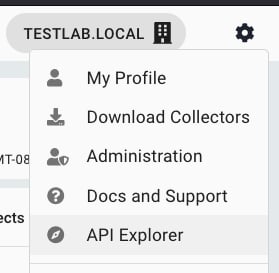
Authentication
The BloodHound API accepts two forms of authentication, each with its own limitations for security.- A JWT is generated through the login process using your email address, password, and 2FA token (or SAML-based authentication flow). These JWT tokens are active for 8 hours and are primarily for end-user access to the web-based application.
- An API key/ID pair is generated within the Administration interface. These do not expire and are primarily for long-term API integrations.
- Non-personal API key/ID pairs for integrations like Splunk
- Personal API key/ID pairs for day-to-day use like BloodHound Operator
Create a non-personal API key/ID pair
Administrators can create non-personal BloodHound users solely meant for API integrations.- Log in as a user with the Administrator role.
- Create a new BloodHound user.
- Give the user a long and unique password.
- Optional recommendation: Log in as the newly created user and enable MFA.
- Optional recommendation: Securely dispose of the password and MFA configuration as they are not needed for authenticating with a key/ID pair and they can be reset by an Administrator if needed.
- As the Administrator, go back to the Manage Users page.
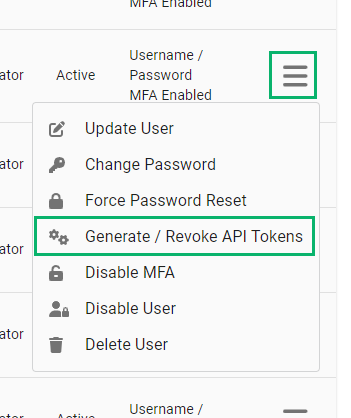
- On the API user, click the hamburger menu > Generate / Revoke API Tokens.
- Click Create Token.
- Give the token a descriptive name and click Save.
- Save the presented API key/ID pair and click Close.
- The API key will never be shown again. If you lose it, you must revoke the previous key and regenerate a new one.
- You may now use this key ID pair for calling the API
Create a personal API Key and ID pair
Create a personal API Key/ID pair from the My Profile section.-
In the top-right corner click My Profile.
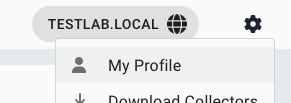
- Click API Key Management.

- Click Create Token.
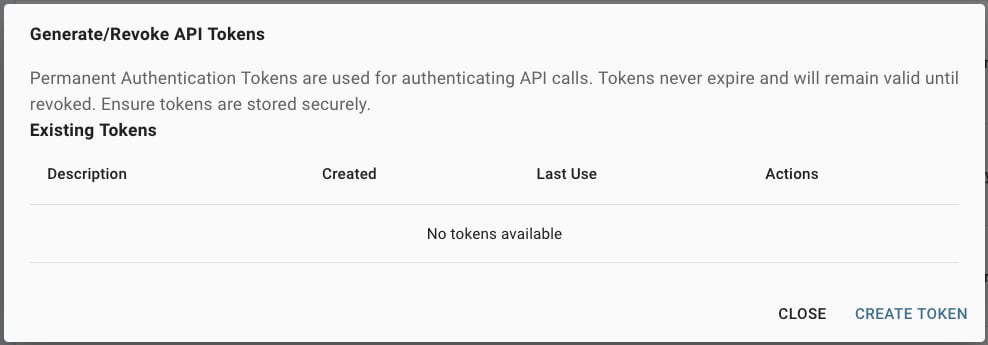
- Give the token a descriptive name and click Save.
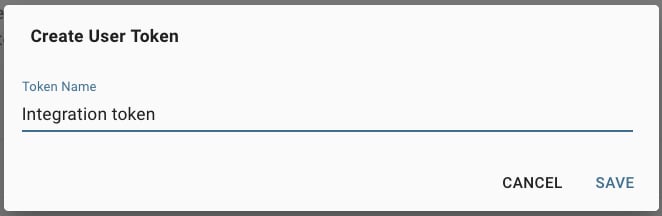
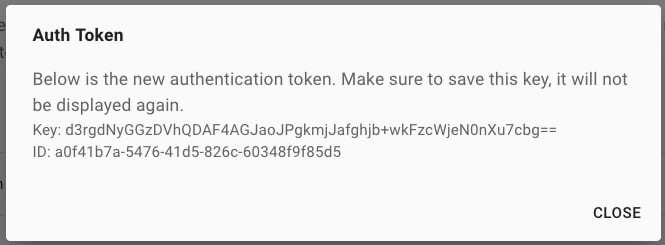
- Save the presented API key/ID pair and click Close.
- The API key will never be shown again. If you lose it, you must revoke the previous key and regenerate a new one.
Call the API
Once you have your token, you can call the BloodHound API.Use a JWT/bearer token
For quick tests or one-time calls, the JWT used by your browser may be the simplest route. The API accepts calls using the following header structure in the HTTP request:Use your API Key/ID pair
For long-running API integrations, BloodHound’s API uses hash-based message authentication code (HMAC) authentication using the API key as the secret key to verify the authenticity and integrity of the request. Calls against the API must include the following in the signed hash:- API key
- HTTP method and URI
- Current time
- Body content (if applicable to the request)
apiclient.py in the specterops/bloodhound-docs GitHub repository. The following code snippet from the apiclient.py script illustrates the authentication process: